

How to Perfectly Clean and Maintain Your Spray Gun
A step-by-step tutorial on properly dismantling, cleaning, and maintaining your professional spray gun to ensure it lasts for years.
1. Flush the System Immediately
Never let paint dry inside your gun. As soon as you finish spraying, empty the cup, add a small amount of the appropriate thinner or cleaner, and spray it through the gun until the fluid runs completely clear. This prevents hardened buildup in the fluid passages.
2. Disassemble and Clean the Air Cap
Carefully remove the air cap and nozzle. Soak them in thinner, but never use metal wire brushes or picks to clean the delicate holes, as this will distort your spray pattern forever. Use soft bristle brushes or wooden toothpicks only.
3. Protect Your Seals
Never submerge the entire spray gun body in solvent. Soaking the whole gun will dry out and destroy the internal packings and seals, leading to immediate air and fluid leaks. Only the fluid tip, needle, and cap should be soaked directly.
Key Takeaways
- • Clean the gun immediately while the paint is still wet.
- • Never use metal tools on the brass air cap or fluid nozzle.
- • Do not submerge the entire gun body in cleaning solvents.
For more detailed technical specifications, always refer to the manual included with your Porphis equipment or reach out to our technical support team.
Featured Spray Guns
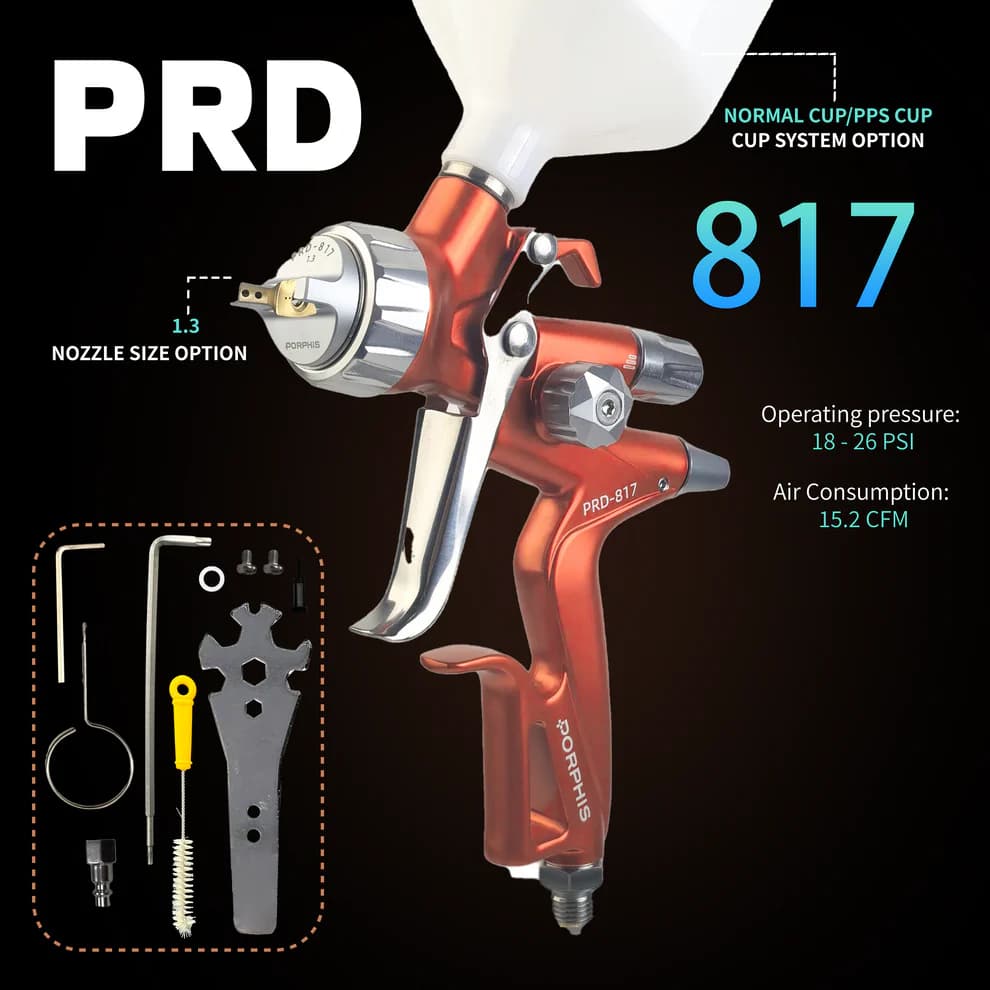
Porphis PRD-817 VS Split Nozzle Professional Spray Gun